
Big things truly do come in small packages—especially when it's a stunning up-close photo of a blossoming spring flower, the intricate patterns of a butterfly, or even artistic macro renditions of everyday items around your house or yard. Check out these quick tips from San Diego fine-art photographer Monica Royal on how to bring the tiniest subjects to life using macro lenses such as the Tamron SP 60mm Macro, SP 90mm Macro VC, and SP 180mm Macro lenses.
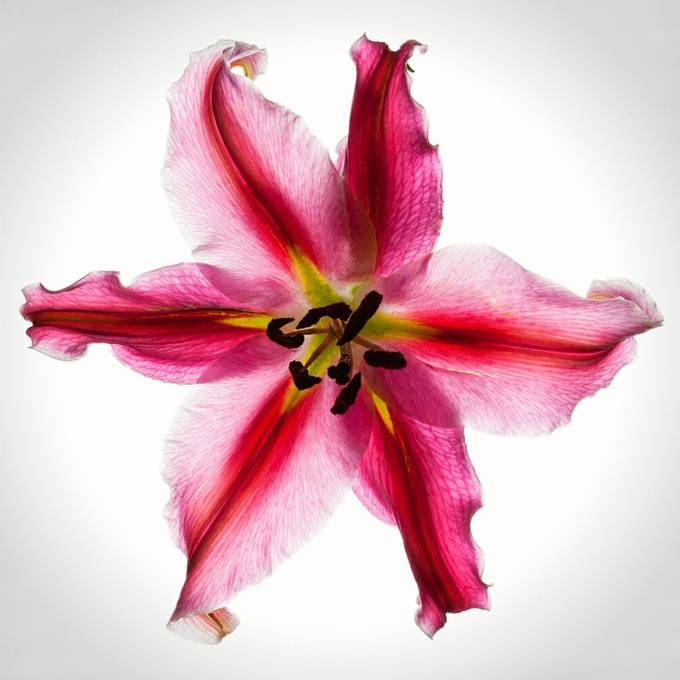
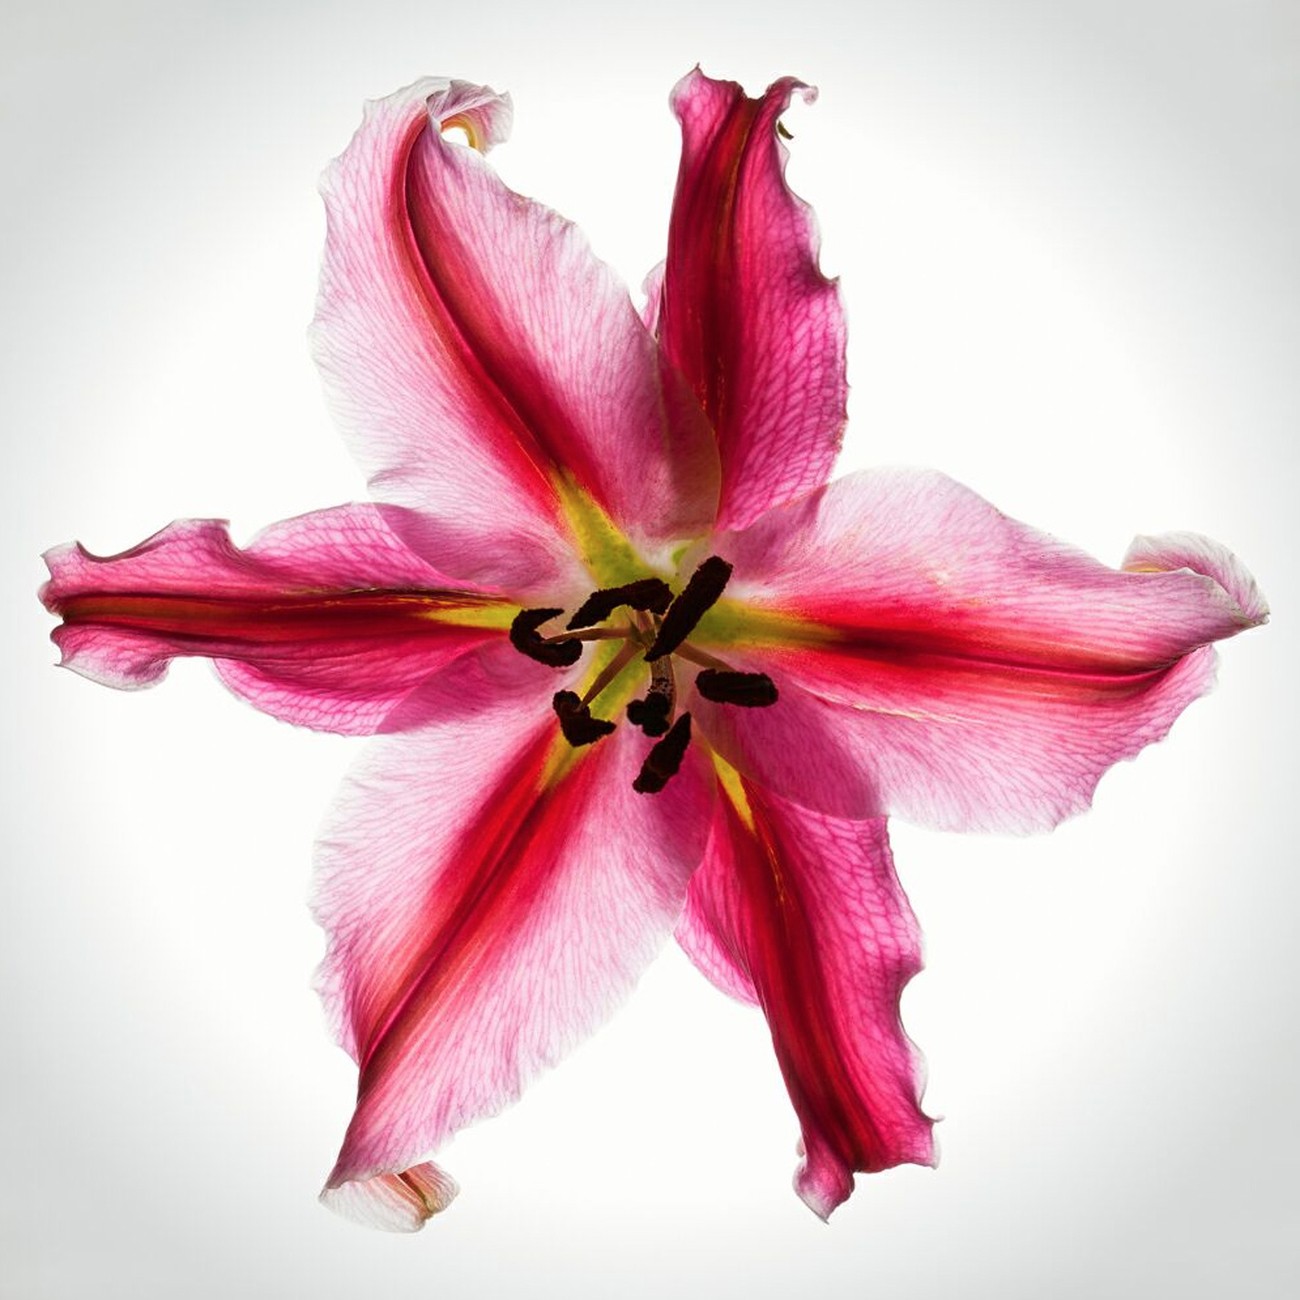
When taking a macro photo of a flower, place the light behind the flower instead of above it or to the side. When you light a flower from the front, it can make the image come out really flat; when you light it from behind, it makes the foliage glow—kind of like when you put a film negative down on a light box and it illuminates all the colors.
What's fascinating about the daylily in this image is that I had a bunch in a vase but had to run out of town before I could photograph them. By the time I got back, all the water in the vase had evaporated and the flowers had started drying out, which created all of these intricate, strange bends in the petals (usually it's really smooth). I put a flexible square 3D lighting panel behind it and photographed right into it; I used natural window light for a little bit of fill.

An extension tube is an attachment that fits between your camera and your lens, moving your lens even closer to your subject so you can fill more of your frame with it. You can achieve macro photos by using an extension tube on a non-macro lens, but by using one on a macro lens, you can achieve even more extreme close-up photography. For this image, I used a baby medicine dropper to place an oil drop on the flower, then used the Tamron SP 90mm VC Macro lens with an extension tube to photograph it.

Experiment with other, nondedicated macro lenses to create macro photos. I took this photo of a manhole cover with the Tamron SP 24-70mm VC lens, and it was a real study in macro, even though it wasn't technically with a "macro" lens.
There's also nothing wrong with enhancing your macro photos in post-processing. With macro especially, you can push yourself to show everyday items in a completely different light, especially if you've been taking pictures in the same niche for a while.
Take this manhole cover I photographed. I ran it through some filters after I took it, and now it has this real gritty, harsh look to it, which is so different from the soft, colorful macro photos I usually take. Using filters isn't cheating. It's like an artist deciding what brush to use and choosing a particular color—you still have to use your creativity and selection process to pick a filter.


If you took a macro photo and you really love it, make a companion piece to it, or even an entire collection of photos. It forces you to be more creative, and it forces viewers to look at your subject both separately and as a unit. In this particular case, I had taken a photo of framing wire with the 90mm VC lens. I really liked the way the piece came out, so I took another photo of it from a different perspective. I didn't want the curves of the wire to be perfectly symmetrical, like if I had wrapped it around a pencil, so I wrapped the wire around my finger so it was wider at the top and smaller at the bottom. I also think this is a great example of how you can find ordinary, everyday items lying around the house and turn it into something really cool and artistic.