In today's post we're going to talk about very important tips that will help you become a better photographer regardless of how much photography experience you have. Whether you're a beginner or you've been shooting for a while, you'll likely pick up a few great tips that will help take your photography to the next level. Let's get started!
Identifying Light

This shot utilizes a lot of the main areas that we're going to talk about. It's just a beautiful view of Orange County, California overlooking John Wayne Airport from a high-rise project. Our first area that we would like to talk about is light and how important light is.
A lot of times we don't really notice the light itself; we notice the things that it's illuminating. We need to learn to really see light, understand light and its properties.
Light has direction. While the sun is 93 million miles away – it is still coming from a source. If there are no clouds or anything in the way, we see the direction that the light is coming from... whether it's low in the sky, high in the sky, or late in the afternoon there's a certain direction. So we are going to talk about the three main directions that light comes from as it illuminates the subjects.
Front Lighting

Front lighting occurs when the camera/photographer is in between the subject and the light source. Now, you don't want to be so close that you cast a shadow, that would cause an "eclipse" and that would be bad. In the photo above, we have a front lighting situation... the light is falling on our subject almost completely straight on. There are very little shadows anywhere, but there is a slight shadow if you look at the upper right hand area of her forehead.
Side Lighting

Side lighting is just that; it's light that's coming from the subject's side. In this example we are in a large building, in a foyer area, there's a bank of windows to camera right, and it's coming sideways from right to left. We can see the model's face is illuminated and that there's a slight shadow behind her from that light source. There are many variations to side lighting... it could come from the left or the right, or from different heights but basically when it all comes down to it, it is all side lighting. It's coming from the side.
Back Lighting

Now, back lighting is where the brightest source of the light is coming from behind the subject. The light falling on the subjects is less intense and you end up with a silhouette. Here's a situation where the light is coming from behind the subjects that are walking through a tunnel at a stadium – and the light source, the sun, is setting behind them creating this glowing effect. So while silhouettes are normally bad, they can be effectively used at times. Those are the three main directions of light that we're going to look at – front, side, and back lighting, and it is something that we need to be thinking about and recognizing before, during and after our photo sessions. You don't want to just pick your camera up and start shooting as a photographer. If you want to progress as a photographer you need to start noticing these things, looking for them.
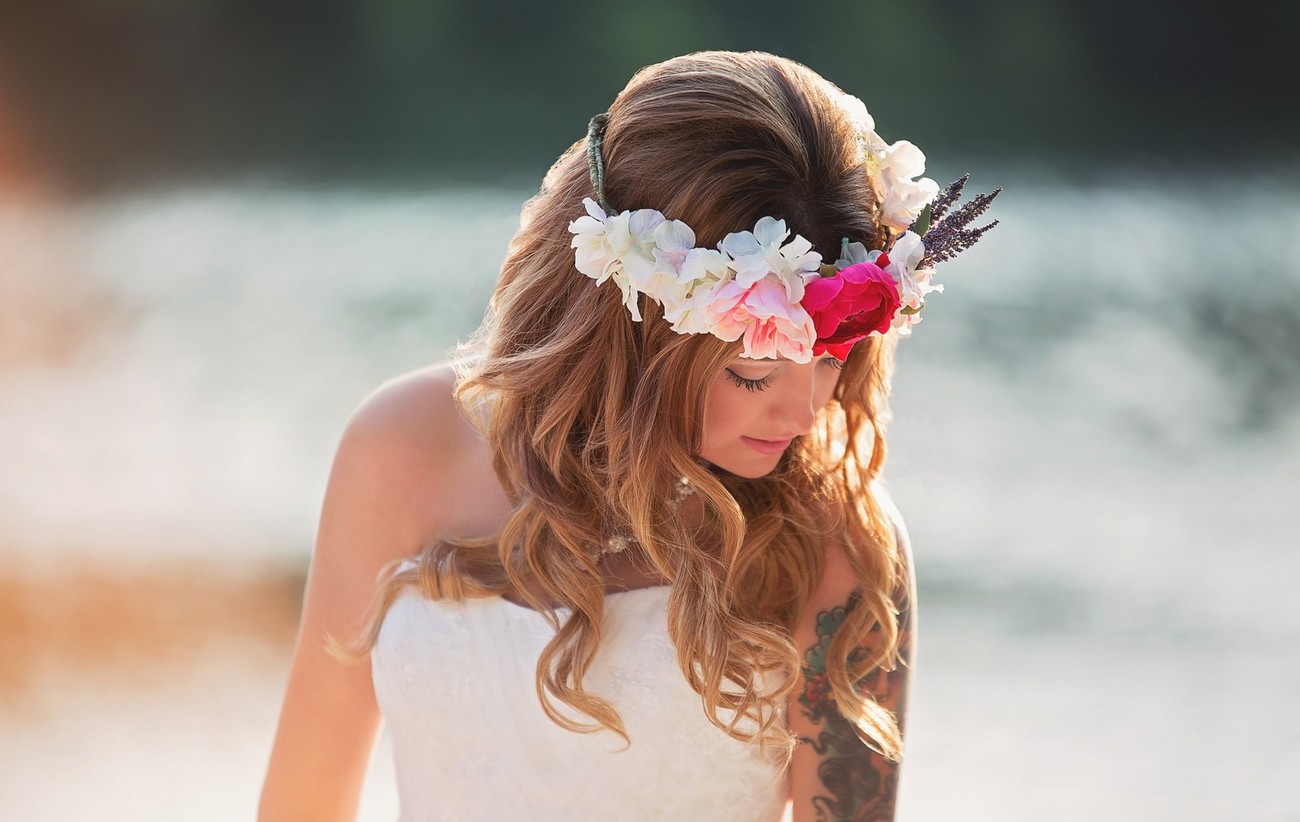
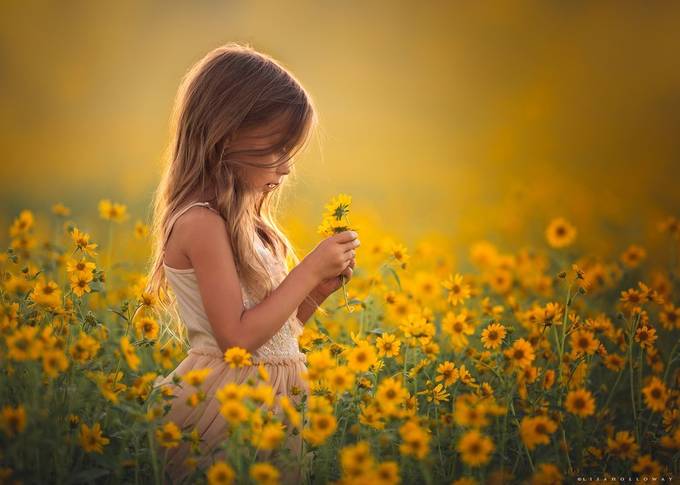
These are some images we love with great lighting techniques:
One other little tip here... Look into the eyes of your subject. And you see how the iris reflects/mirrors anything that's bright? These are called specular highlights. The iris is reflecting the light source. It is a great way to figure out what type of lighting was used. A great way practice this tip is to go to the makeup counter at the department store where they have those giant pictures of their models wearing the makeup and looking all cool. Look in their eyes and you can see the studio type lighting that they used reflected in their eyes. Next time you're looking to photograph someone, see if you can put them in that light. Open shade tends to be soft because there's not the harshness that you get with direct light. And again, it's very complimentary in most situations.


