It's easy to get started! First download the Lightroom plugin here. Once you have the Zip file, unzip it and add it to your Applications folder if you are using a Mac, or Programs folder if you are using Windows. Note for windows users: On Windows you'll see viewbugpublisher.lrplugin as a folder. Do not try to open the folder, simply select the folder.
Cool! Now you are ready to use the Lightroom Plugin Manager. Click on Add as shown in the image below

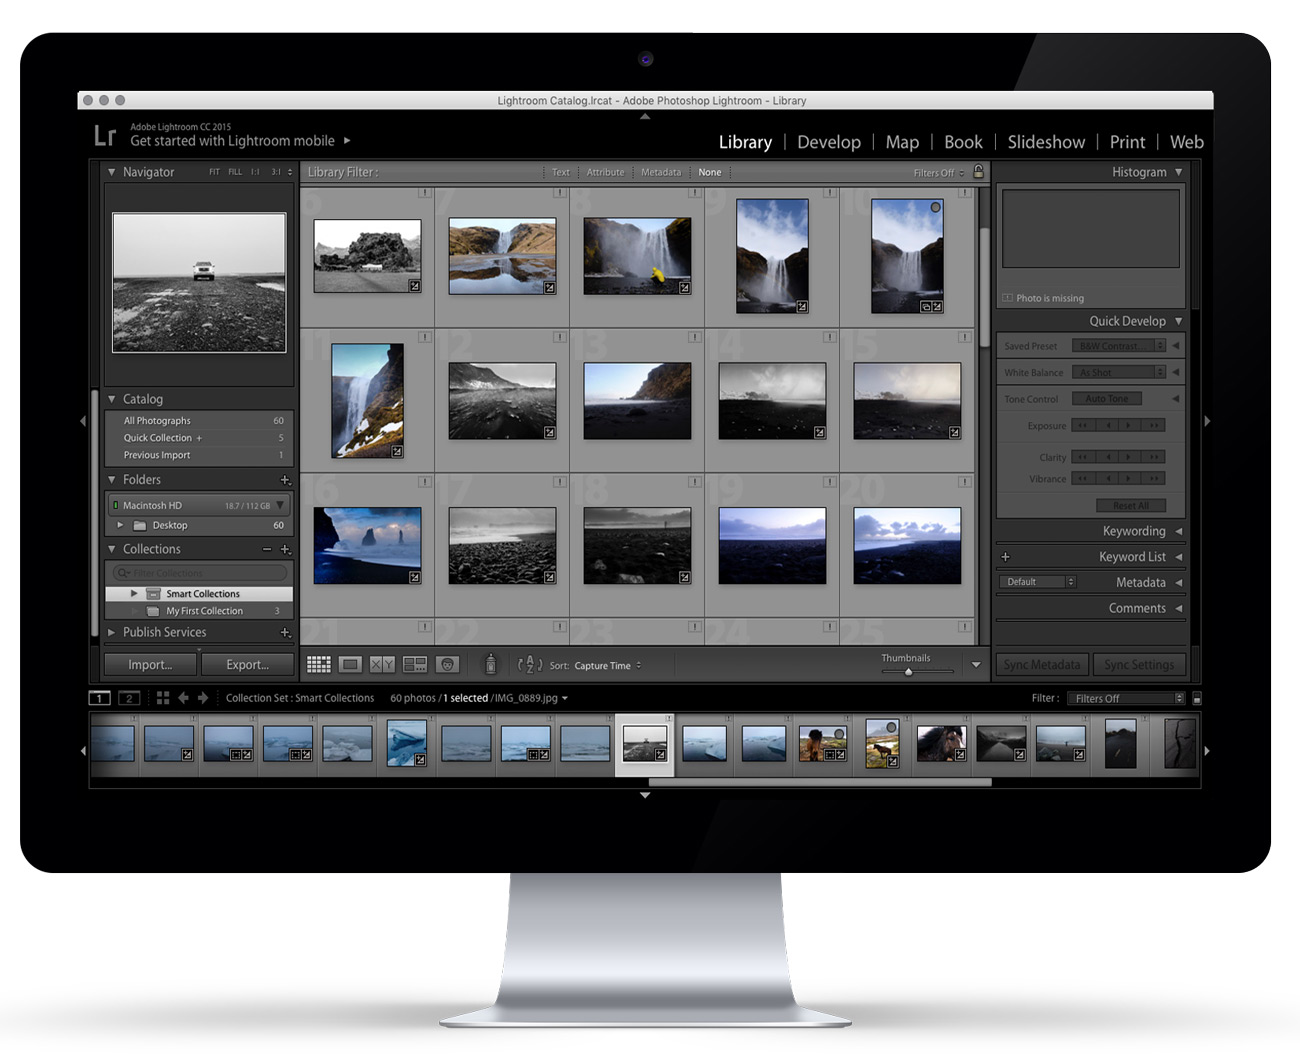
Configure the connection with ViewBug in the 'Publish Services' on the left hand side of Lightroom:

On the next window, click on Get Token:

You will get a unique token for your ViewBug account (please make sure to be logged in to ViewBug), then enter your token in the following window within Lightroom:

Save your new setup:

You are now almost ready to start publishing your new photos to ViewBug! Add your photos to the ViewBug Profile folder.

Important details to remember:
1. Make sure to add caption and title to the photos:

2. Enter Category, Adult Filters and Tags (these will help your photos get exposure):

Now publish your masterpieces:

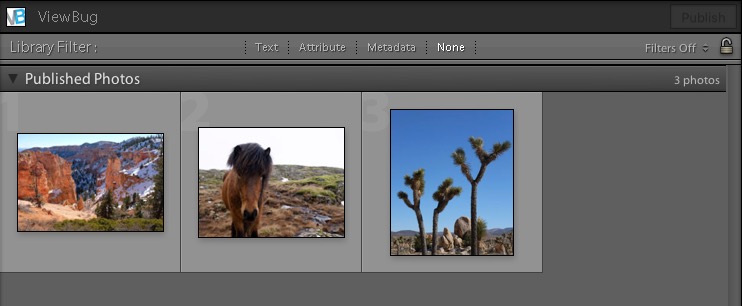
When your photos are completely published on ViewBug, these will automatically move to Publish Photos: