
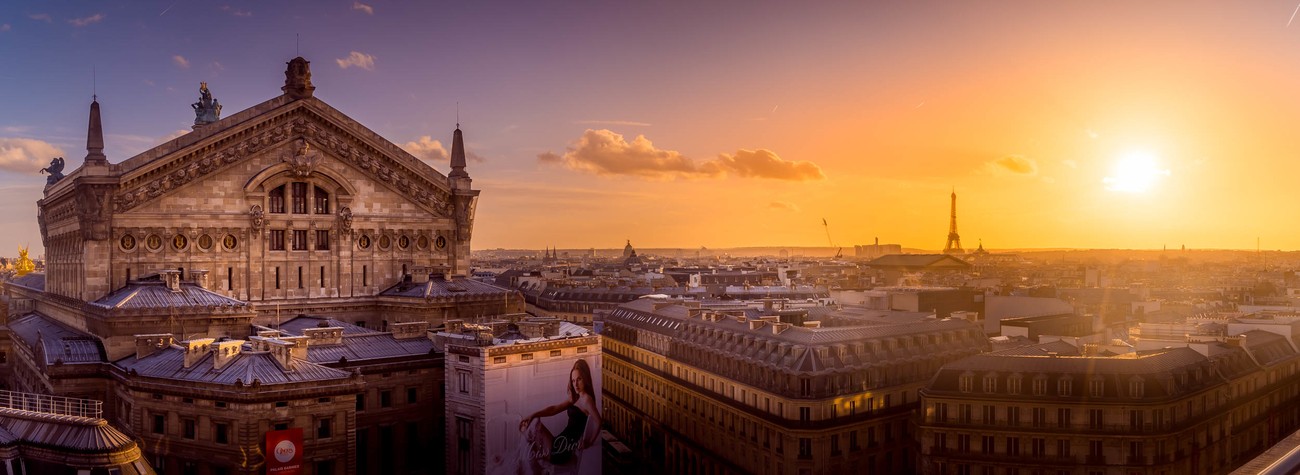
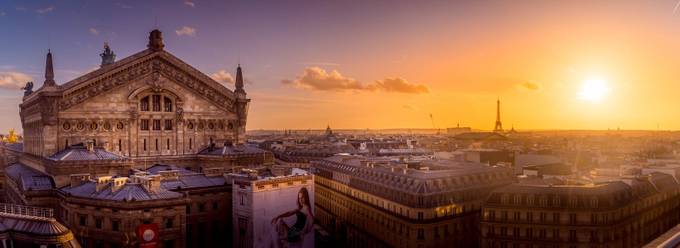
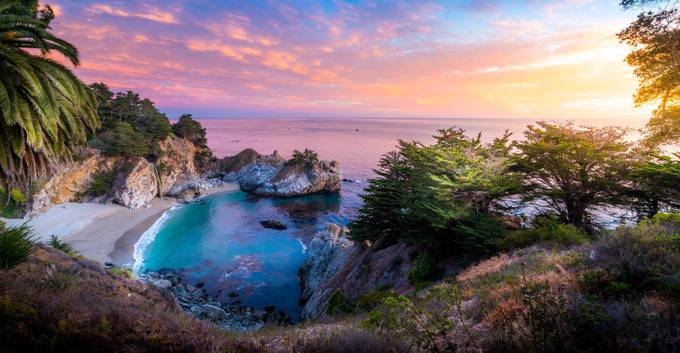
Serge Ramelli is the guest judge in the HDR Cityspaces Photo Contest, an actor, educator and dramatic photographer based in Paris, France, I’m always striving for a cinematic effect with my photos. I’m inspired and driven by images that create emotional impact. Best known for my Photoshop, Lightroom and Plug-ins tutorials on YouTube. Learn more.
1. Use HDR for dynamic range situations.
Taking different exposures is very useful when the contrast in the scene is very present. Every time I have the sun in my frame I shoot HDR to have all the dynamic range.
2. Use the timer with the bracketing shots
You can program your camera to put the timer on for a few seconds (usually 2 or 10 seconds) and then it takes the different exposures. This way you are not touching the camera while it takes the three photos or more.

3. Use three exposures at 2 F-stop apart.
I have been using the formula of three photos for years, the under exposed photo at - 2 F-stop and the over exposed photo at + 2 F-stop. This way you don't have too many photos for one scene.

4. Shooting HDR at the golden hour
If you want to shoot HDR without a tripod, make sure that your normal exposure is at a minimum of 1/250 speed of a second, in this way the over exposure will be around 1/50 of a second with two F-stop of separation and it will not be blurry if you used the timer. But off course the best is to use a tripod!
5. Use Aurora HDR to tone map your bracketed photo
Aurora HDR has the particularity of working with layers, so you can tone map your photos differently for different parts of the photo, that is a huge advantage. You can download a free trial at this link.
