
It wasn’t until 1936 photographers could shoot in color. Before that monochrome photography was the only thing we knew. Today, modern black & white photography has a romantic touch of it - and is in many ways a very hard art to master. Converting an image to black and white isn’t as simple as you may think if you want an impressive result. Our American community member David Chinn (davidchinn) told us that you should never shoot in monochrome mode, instead you should convert your image in color to black and white in the post-process stage. Do you want more great B&W photography tips? David shares his Top 7 Monochrome Street Photography Tips here with us!

#1 Shoot in color - and not in B&W
Most camera’s have a black and white preset that lets you take photos directly in black and white. Don’t use it. This might sound a bit weird, but you will get better black & white results shooting in Raw Format. A good black and white image will require post processing and the standard in-camera black and white conversion isn’t as good as your own black and white conversion. I’d recommend using Raw Format. It will give you more control over the end result.

#2 Shoot at your lowest ISO setting
I know the grainy film look is popular in black and white photography, but I recommend you to use the lowest possible ISO setting when taking your shots. Just like the black and white conversion itself, the grainy look is best added in post production. In the film days photographers often used high ISO films to get the grainy look. Shooting in high ISO will give you enough noise, but the digital noise isn’t as sweet as the analog.
Be careful not to get unwanted movement in your shots when going for the lowest ISO setting. With modern cameras you can go up quite a lot before the noise kicks in. It’s better to get a sharp shot with some noise instead of a noiseless shot where your subject is a blur.

#3 Shoot On Those Gray Days
Those grey days and the golden hour are perfect for black and white photography. The soft light will give you silky smooth transitions in your subjects. And, when needed, you can always add some extra contrast in post.

#4 Learn to see black and white
The world looks differently in black and white. When you learn to ‘see’ in black and white you’ll easily pick out the situations that are perfect for black and white photography. Try to envision how a shot will look in black and white before you take the shot. Seeing black and white requires practice. It isn’t too easy, but there are several things that may help you. Look for shapes. Shapes cast shadows that bring out the shape of a subject. If the light you use is hard, the shadows will show it. Beautiful shapes might disappear in an abundance of color. Black and white helps you to bring out the shape again.
With the absence of color, structure becomes more important. Use (or create) the light to bring out the structure. Structure can be found in many subjects, like hair, sand, skin or wood. Too much contrast in a color photo often results in harsh and confusing images. Remove the color and harsh contrast is a great way to attract attention to your subject. Pay particularly attention to shadows and highlights which will become a feature of your shot. When shooting black and white landscapes look for ‘active skies’. Having skies with so much ‘action’ in them added mood and a really dynamic look and feel to images. Without this active element the images looked rather empty and dull.

#5 Subjects
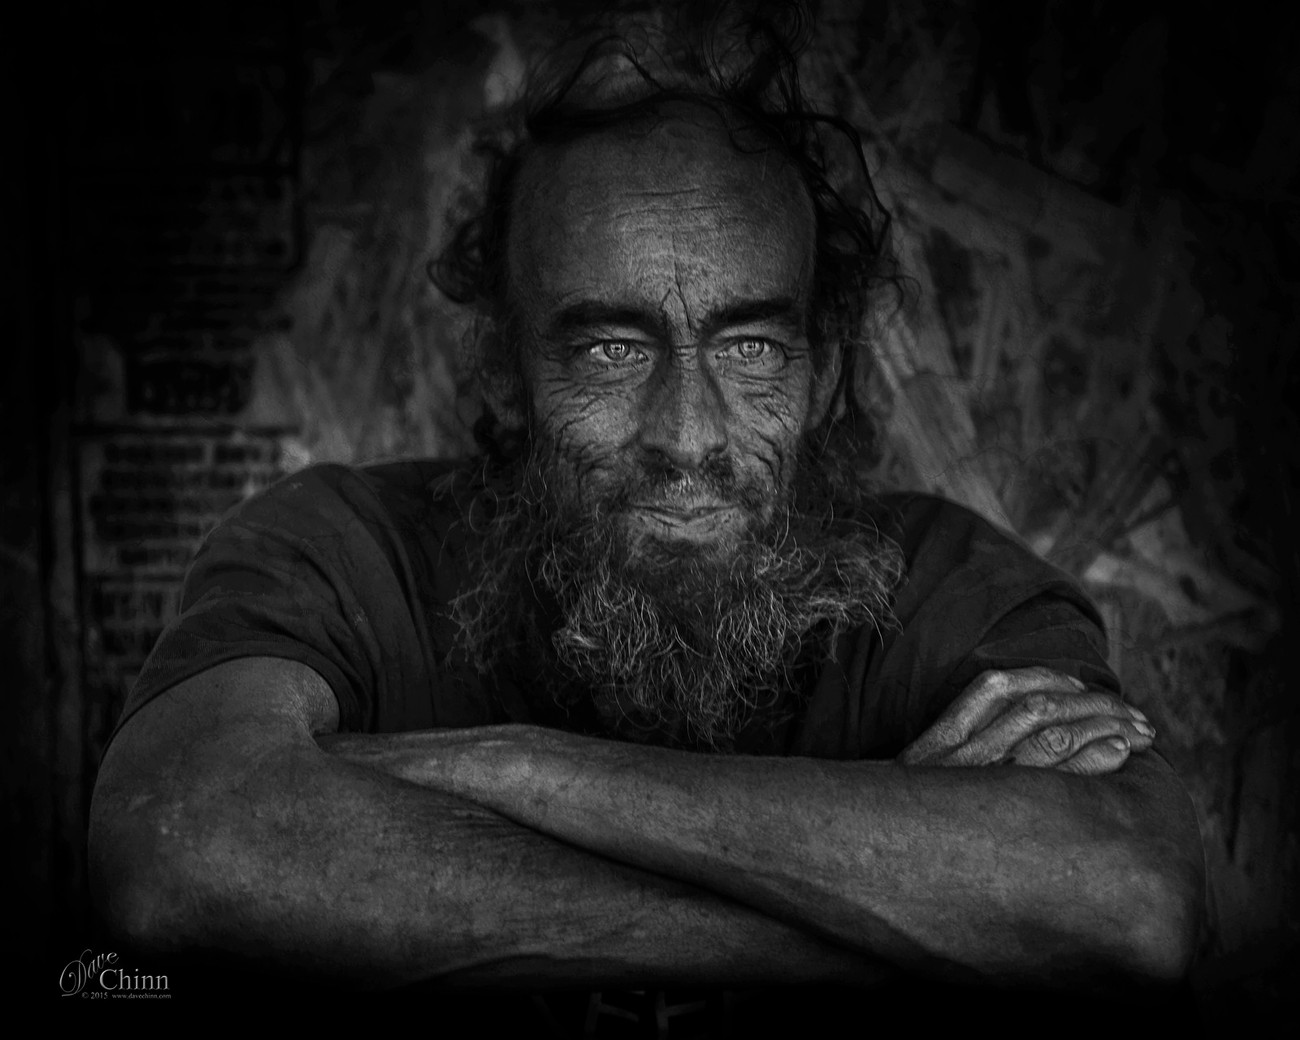
Black & White photographs are good at bringing a sensitive experience into a shoot, they tend to bring depth and give you the chance to explore an object or person more strictly due to the graphic elements that it conveys. When taking pictures of large spaces, like landscapes, make sure that the same tone isn’t flowing through all the elements of your image. Most black and white images are supposed to be dramatic and leave a striking impact on the viewer. One way of doing this is by finding a movement, like an unsteady wave in a sea or a moving sky. Something that isn’t really all that dramatic in real life can become much more intense when a glimpse of it is caught on camera. One single subject is the most popular choice for black and white photography. This goes mostly for portraits, you can really emphasize on the affect that the gray scale will bring to the person’s expression.

#6 Post Processing
I use and recommend Adobe PhotoShop CC for post processing. I also highly recommend Silver Efex Pro 2 for converting images from color to black & white.

#7 Street Photography
Street Photography requires patience. Finding a subject can take lots of time. Often I’ll find someone who looks interesting and hang around or follow them, in the hope that something will happen or come the other way that suddenly makes a wonderful scene. Occasionally I'll turn a corner and find a picture just waiting to be taken and then I have to scramble to get into the best position to shoot it. For the most part, I find a spot and wait for my subject. Although, I will move from place to place to avoid one spot for a long period of time.
I think trying to remain unobtrusive as opposed to unseen is important. People become more suspicious if you try to take pictures sneakily or if you look nervous, whereas if you act as though you’re doing your job and you project a more positive body language, then you’re less likely to encounter problems.
Although, I do take street photography, I prefer candid street portraits. Reason being is I am focusing more so on a single subject. Sometimes I ask to photograph someone but mostly candid because it is a more natural pose.
To see more of David’s photos, visit his profile and website.