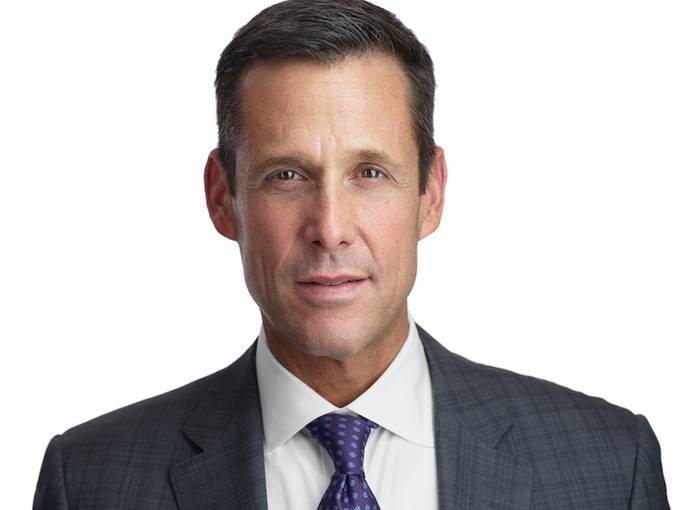
Peter Hurley is considered by most to be the most famous headshot photographer in the world and he is considered by many to be the very best as well. Peter Hurley started his career as a model and quickly moved his business behind the camera in 2002. In 2011 Peter teamed up with Fstoppers to create his tutorial: The Art Behind The Headshot. Since then Peter has traveled the world teaching his craft.
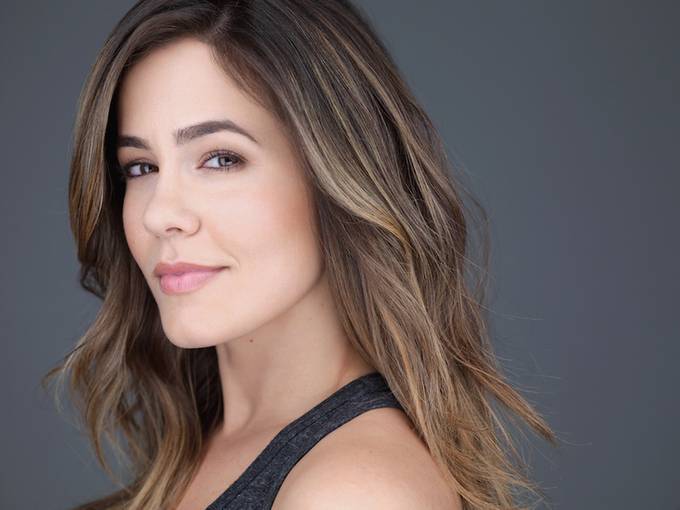
As the photographer, your job is to control the atmosphere during a shoot to produce a creative working environment for your clients. In order to do that effectively, you will have to be directing your clients from start to finish. It’s rare, if ever that you’ll find me quiet during a photo session. If you don’t have game in this dept then that is precisely what you’ll want to be working on. Flatmosphere’s creates flat images and that’s not part of the Headshot Crew’s vocabulary. So here are ten crew tips that I’d love for you to start fiddling with to get your headshot game cranking.
1. Never ask someone to smile.
Never ever and I mean under no circumstances should you be asking someone in front of your camera to smile! Cliché photographer line: Say cheese! Not for us, you don’t need it, so throw it out the window. Now, small closed mouth smiles are generally fine depending on how the client reacts, so on occasion, I do ask them to do tiny smiles if need be. Big smiles have to be spontaneous and come from your direction. I know this is a bit vague and I’m not giving you much to work with here, but I want you to do your best to get your clients smiling spontaneously day in and day out. I’m big on creating real laughter and smiles, so as the weeks go by in the Headshot Crew Core Curriculum you’ll have new tools to get people smiling at a moment's notice.
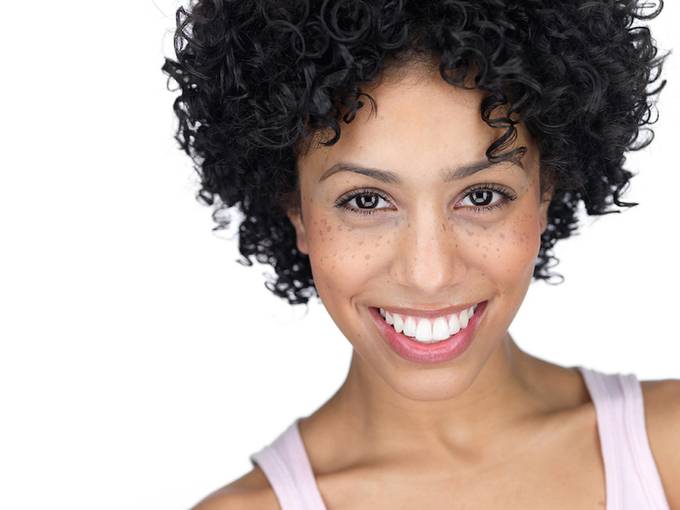
2. You do need to get a smile.
So there is a predicament here: You don’t want to ask them to smile, but you do really need to get smiles out of them. I always want to start them out with small smiles in order to create a shot that doesn’t turn people off by being too serious. The basis for all my work and my #1 goal during a session is to direct the client towards a shot that conveys confidence and approachability. In order to create an approachable aspect, they’ll need to have at least a hint of a smile. Without it the shot will become flat, so experimenting with the tiniest smiles is where it’s at until you can get them to crack up for real on their own. Once you have those confident and approachable shots you can move them in any other direction that you want knowing they will leave the session with outstanding images. If you miss out on a shot that infuses confidence with approachability in the session then as far as I’m concerned you’ve missed the boat in headshot and and failed miserably. Don’t let them leave your frame until you feel you’ve nailed this one crucial expression. We’ll be working on C&A as the weeks evolve in the Core Curriculum.
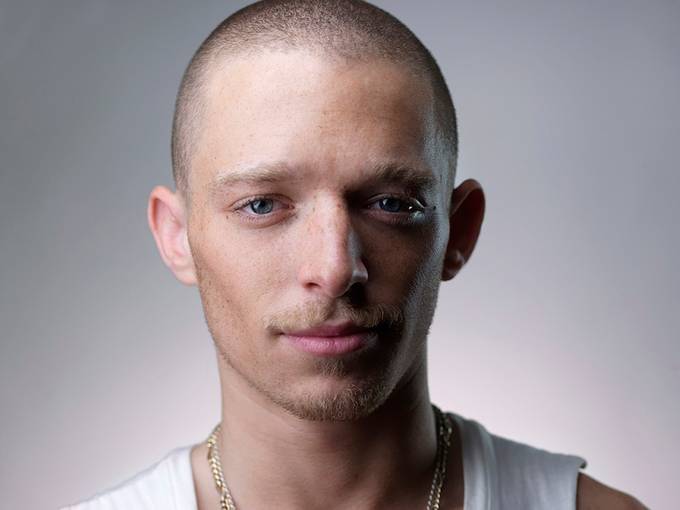
3. Mouth, Eyes, Eyebrows.
So we know where the approachability part comes from(i.e. mouth), but where does the confidence come from? Can you guess? It can only come from one of the three places that humans can move on their face when creating expressions. What are those three things? Mouth, Eyes, Eyebrows.
4. Model Confidence.
Your clients need to engage all three consistently or else their shots will be lacking expression. So let’s get back to confidence, it all comes from the eyes as does fear. So if fear or uncertainty opens our eyes, e.g. deer in the headlights, then confidence must come from doing the opposite, right? Get ready because in my opinion, this piece of advice is worth the entire cost of admission to headshotland. Yes, I believe that I built a huge headshot business by having people squint. Many of you know that I’ve created the squinch, so I was actually having them squinch for years, but even I wasn’t aware of it until I came up with this concept. I’m not kidding either, it has been my biggest secret for years and I was petrified to talk about it, now I’ve let the world know through “It’s All About The Squinch!” It may sound strange to some, so if you are questioning that statement then do some research and find shots that convey confidence, most likely they will be squinching!

5. Don't let your clients look eager.
So we obviously want to stay away from shots where our clients look scared, but there’s another word that I can’t stand and you need to avoid and that would be any expression that could be construed as being eager. By no means do you want your clients looking eager about anything. Chilling them out and getting them to understand that being eager is not cool will change their energy and you’ll be on your way to moving them in the right direction. Eager shots generally happen at the beginning of the shoot when the client is anxious and they stand out like a sore thumb. Big eyes and a cheese factor 57 smile makes people look entirely to excited and any cool factor that may have been vanishes and shoots them straight into dork mode. Not a good place for your imagery to land. Lose the dork by going chill, it’ll happen as the nerves wear out and you pull real energy out of them.
6. Expressions with words.
So we are going for confident, approachable, non-eager shots that convey expression, right? Easier said than done, but I’m going to be filling you in on the nitty gritty over the course of the HSC Core Curriculum. For now I’ll give you a tip that helps me get through my sessions and gives my client a direction to go without too much thought. I simply give them words and ask them to match their expression to that word. Now the words that I give them must be words that will work in the context of what I’m trying to get out of them. Here are a few of my favorites, so feel free to give them a shot: sneaky(#1 By far in my book), flirtatious, adorable, cocky, suave, sultry, sweet, charming, quirky and devious. Think about ones that resonate with you and begin using them to see how you do.

7. Physical position.
So let’s get physical now. Usually the very first thing that I tell someone when they step foot in front of my camera is to push their forehead or ears towards the camera. I’m big on strong jaw lines and without bringing the head forward a touch you won’t get any pressure on the skin around the jaw line, softening it and rounding out the face. It took me many years to figure out this forehead/ear move. I do also say chin out and down, but when you do that on occasion you’ll get a strange response, so try the forehead out and down first. I actually demonstrate this for them by turning profile to them and jamming my head forward like a turtle to illustrate the point. Ridding your client of a double chin is just as important as anything else you could be doing during a session. If they don’t get it I joke with them that I want them to have to call their chiropractor to make an appointment by the end of the session.
8. The jaw line.
Let’s stay on the jaw accentuation topic for now. Another way that I am strengthening the jaw line is by having them lean towards me and slightly drop whichever shoulder is closest to the camera. You really want them bending at the waist with a very slight lean. If you tell them to drop a shoulder they will become uneven and most likely look uncomfortable. The more their body is turned to the side the more this move will pop their jaw line. You may have to physically show them how to do this and on occasion I’ll go grab them to put them in this position for those that are directionally challenged. I always have my clients either straight up or leaning towards the camera, I’ve never found a circumstance when leaning away from the camera would work. A good rule of thumb is to make sure their back shoulder is slightly higher than the front shoulder. When they are facing straight to the camera this rule doesn’t apply because both shoulders are equal distance to the camera at that moment. The key here is not to overdo this and as they lean their head lowers, which means you’ll need to lower your camera. Your lens should always be at the same height as their earlobe or below it. I rarely go above earlobe height in a headshot. Also, as you lean them a favorite move of mine we’ll get into in the coming weeks is to tilt the camera with them in order to minimize the look of the lean. I call it the tilt/untilt move and hit this in detail in an upcoming episode in the Core Curriculum.

9. The brows.
Rarely if ever do you see people using their brows to convey expression in a headshot. In my work I pride myself on brow action! I want you to begin coaching your clients into attempting this. There are 2 moves to make:Brow pressure: Which is a bit more intimidating and works great for actors going for more dramatic parts. Brow jacking: You want to get them to jack their brows up on occasion which opens the face and they become more welcoming.Get in front of a mirror and practice this, you want be able to convey this to your clients by showing them yourself doing it. Anything you do in front of them will make them feel more comfortable, so getting them to copycat you is key for this and a lot of other moves I do. Get it done!
10. Build a framework.
As your session progresses you’ll want to begin to slowly steer away from what I call direct direction once they’ve got a sense of what they are doing in there, i.e. move to the left or right, chin up or down, smile, etc. All photographers have to use it in order to get our clients where we want them. However, you eventually want to tone it down as the shoot progresses and add some other stimulant to the mix. Once you build a framework for them to understand you can be a lot less hands on allowing them to get there on their own naturally. This always shoots their own comfort level through the roof and they will appear much less robotic in the process. Meanwhile, you’ll be hitting them with some banter that is non-directional and making them think. I’ll be adding this kind of direction as the course evolves over the coming months. Big stuff and I want you to be ready for it.
Developing a routine or game plan for your sessions is essential. I definitely have a shtick that I use on a daily basis. It’s been tweaked and fine tuned over the years and is so ingrained in me that I can pull something from it at any second. It’s based on constantly feeding clients new information. You’ll lose them and the session will begin to get stale if you keep repeating the same thing over and over again. You want a plethora of directions that you can go with at any given moment. We’ll begin to build a plan for you to do just that in the next few months as well. A lot of the tools I give you will provide insights into how to formulate your own plan and develop your own way of handling each shoot.
Hope these crewtips have been helpful!
I know you’ll have questions and we’ll be digging into those daily in the group posts and on the Crew Casts, so fire them my way and I’ll do my best to answer them for you. Thanks for being part of the crew and I’ll see you on a Crew Cast soon! Peter


