
We are excited to share this educational How To post by our friends from Broncolor. Learn how to use the studio lights and participate in our contest in collaboration with Broncolor, join the Creating Mood With Lights Photo Contest.
Shooting white objects in front of white backgrounds can be very tricky. RGB values should be analyzed carefully and the light shapers have to be used very precisely. Here we would like to give you an overview on different techniques:
- A model in white underwear is dimly lit - UV light brings extra glow to the white textile.
- A Para 222 modulates the body and the dress of a model very three dimensionally; the darker contours separate the figure perfectly from the background.
- In high key portraits the contrast is very low while the exposure is pushed to the limit.
- A large soft box is placed behind the model and is used as white background.
With videos, sketches of set ups, all technical data and of course many photographs we show, how soft high-key portraits are shot, how white fashion is shot in front of a white background and how you avoid, that your bright backgrounds are firing back on your models.
Example 1:

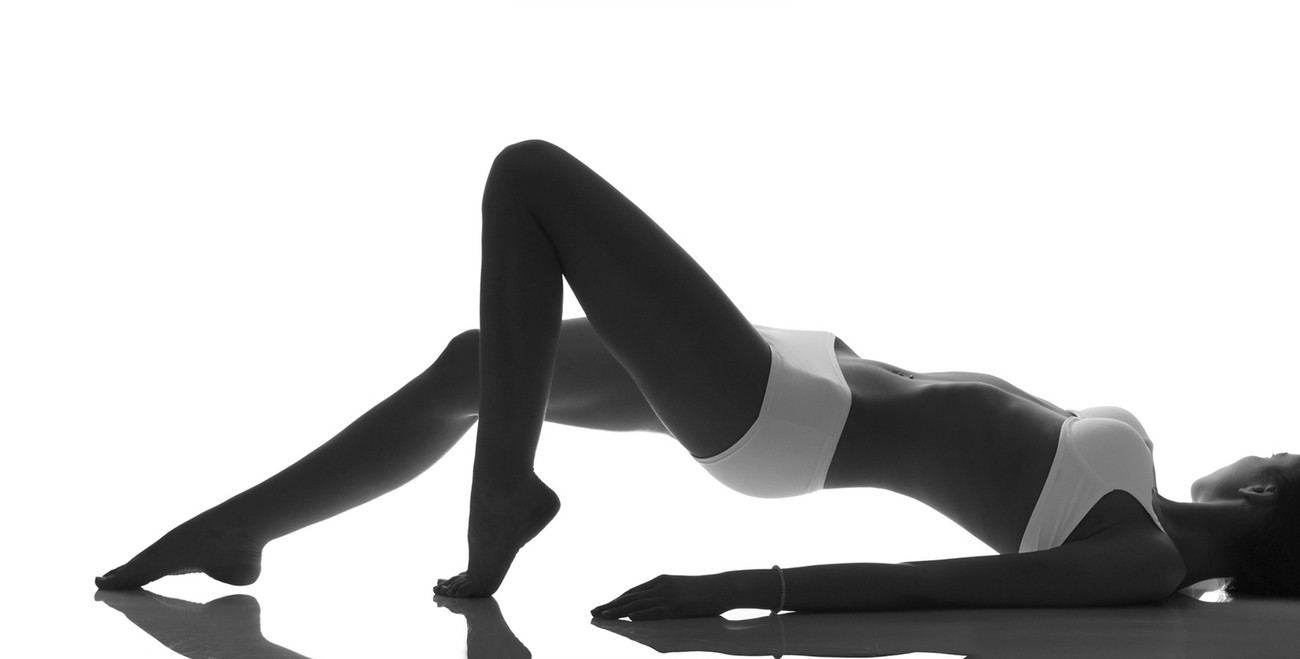
The focus of this shot on the white underwear, worn by a beautiful woman. Her body was meant to stay rather dark while the underwear shines.
Only very little light should reach the models frontside. This is why she is quite far away from the white background which is lit with two softboxes of 60x100 cm. Black flags left and right of the models white acrylic table absorb all the light bouncing back.
Also, the main light is positioned behind (and above) the model: It is a huge 120x180 cm softbox.
The only light from the camera perspective is a Pulso G lamp head equipped with a UV attachment. This light brings a bright white to the underwear but leaves everything else dark.
© how to by Urs Recher (broncolor)

Example 2:
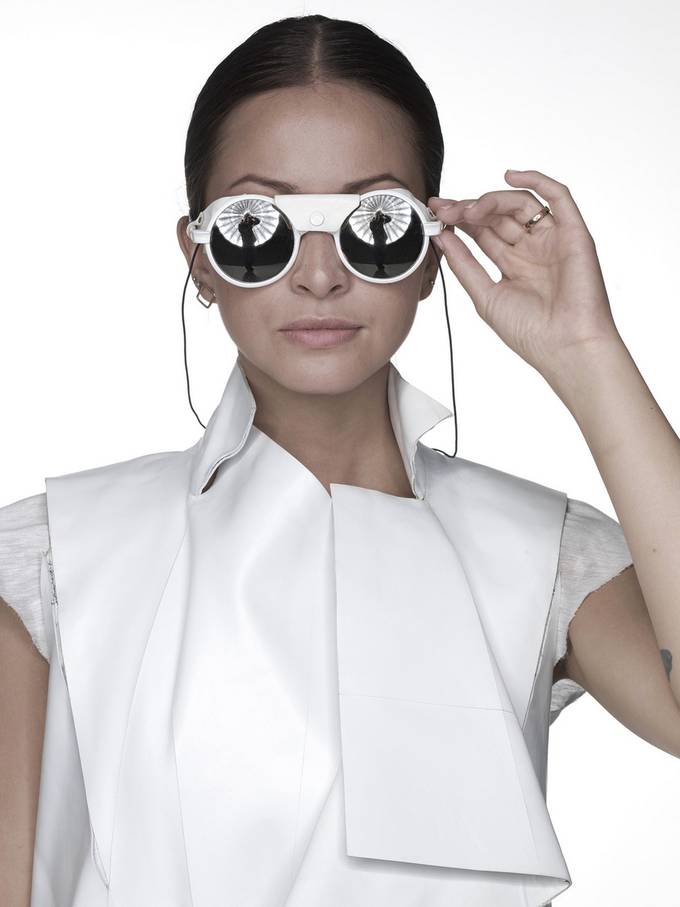
The biggest problem when shooting a white object (in this case a half body fashion shot) on a white background is to get a clear separation from the model to the background.
To ensure that the background has no unwanted effect on the model, I first set up the background lights only. When exposing this, I should see a black object (model) on a white background. Here, I lit the background evenly with two softboxes,each 30x120cm and set the light to about RGB 250/250/250.
In a second step, I set up the Para 222, defocused to the max (this means the lamphead is as far out as possible). Used like this, the Para can be compared to a huge ringflash, creating a nice fall off to the edges. But unlike the Ringflash, a Para creates a very three-dimension light.
The light is symmetrical, so the model can move around freely, the light remains perfect, shaping the face and the body nicely. And the model stays separated from the background.
© "how to" by Urs Recher (broncolor)

Please find below more How To examples to this theme.


Remember to join the Creating Mood With Lights Photo Contest and share your creativity. Follow Broncolor on Facebook for up to date news on How To posts.