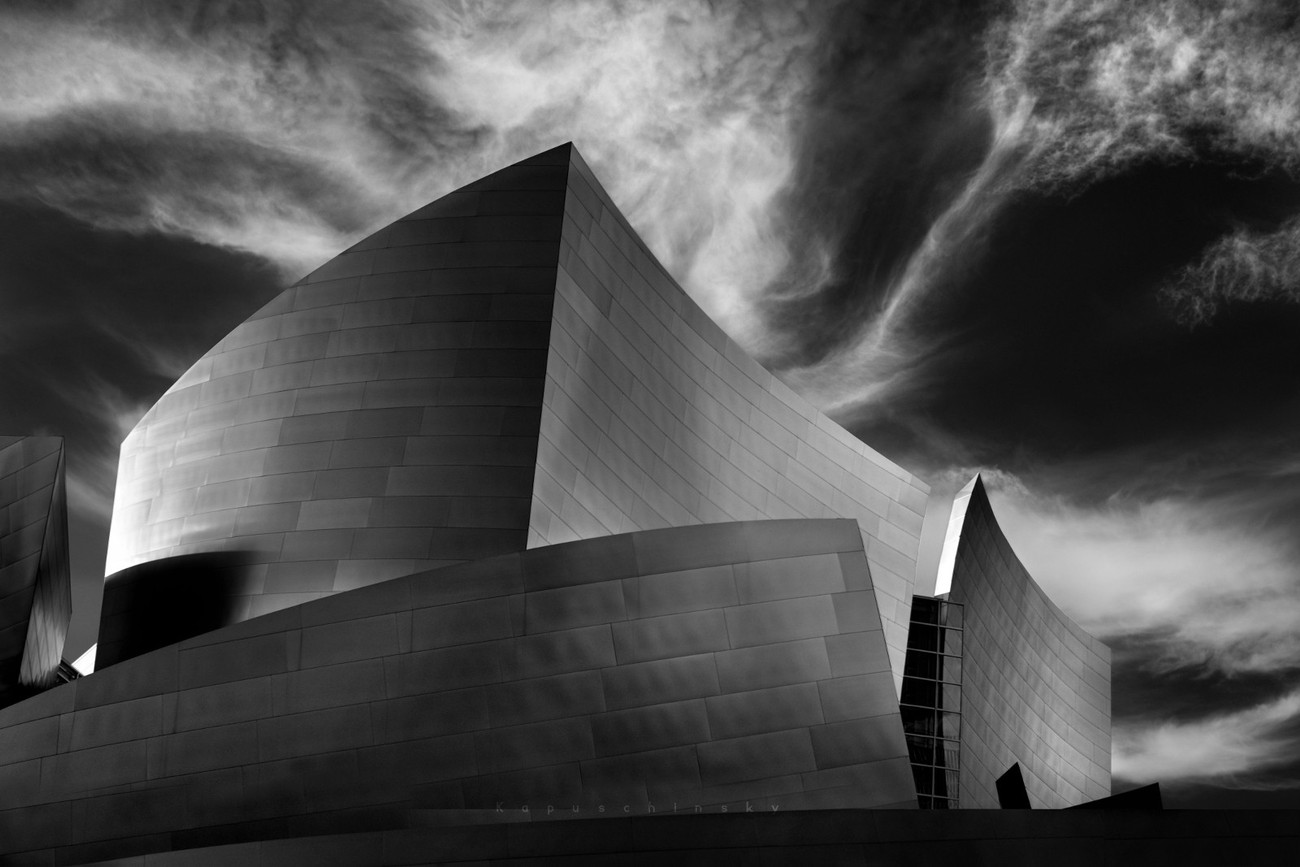
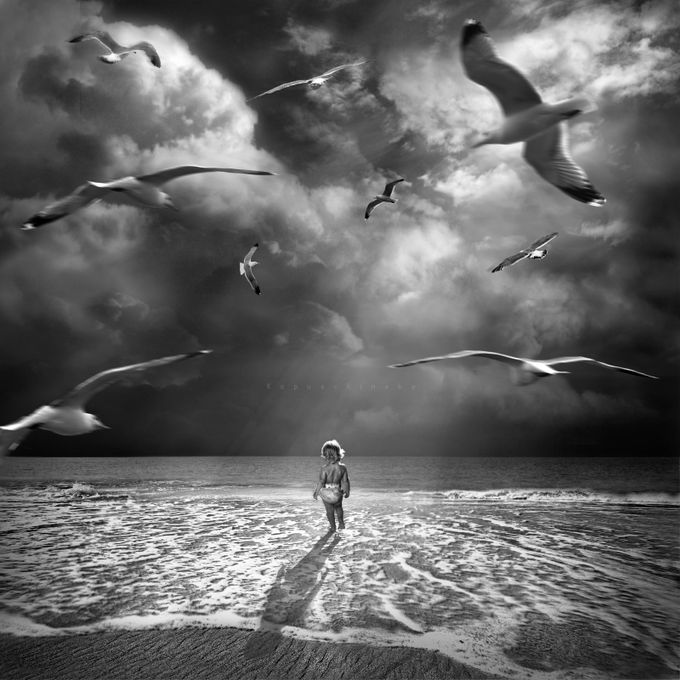
One of the biggest reasons we love black and white imagery so much is because of the emotion it evokes within us. But why is this? After all, we naturally gravitate toward color; it's how we're wired. So what happens when color is eliminated? All that's left are shapes, lines, lights and shadows working in unison to create a feeling that exudes from the image to the viewer. Our community member Christine (kapuschinsky) knows how to take an awesome black and white photo and we thought we should ask her if she could share her best tips to her fellow photographers and friends here on ViewBug! Here are her in-detail Top 7 Emotive Monochromatic Photography Tips.
1. Feel your Vision
The power of the artist is that their vision determines the prevailing feeling they wish to convey. The very same photo that presents itself as ethereal and happy can become wistful and nostalgic, when all that changed was the edit. Because of this, monochromatic imagery not only allows you to see with your eyes, but feel through them by forcing the viewer to observe and ingest components of the image that otherwise could have been easily overlooked or forgotten.
2. Shoot with Intent
You might hear photographers say that they are "shooting for black and white", however this does not mean shooting with the digital camera set to black and white. Avoid doing that, because it limits your post processing to what your camera sees and not what you actually see. On the contrary, "shooting for black and white" means the artist is paying careful attention to observing their surroundings in order to determine which circumstances are more favorable for a black and white conversion than a color one. If you remove all the color from an image, and there is still something captivating about it, then whatever that's left doesn't need color in order to be appealing. Shooting with the intent of converting to black and white also has the potential to keep post processing to a minimum and therefore save lots of time editing. The nice benefit to that is a more productive workflow.
Circumstances offering favorable conditions for monochromatic imagery naturally look just as good, if not better in that particular style than they would in color. Light and shadow play an essential role in this. Light is the primary component to ALL types of photography, but especially monochrome so study light and learn how to harness it to each scenario's fullest potential. Watch the light that shines around you- how is the lamp in the corner glowing in the room? In what way is the late day sun filtering through the leaves of a tree or kissing someone's long hair? Once you learn how to see light, the easier it will be to determine which circumstances will benefit from a monochromatic conversion.
3. Create Depth
Because the colors of the visible spectrum are composed of different wavelengths, converting them synchronously to two contrasting tones will subsequently give it a flat, two dimensional and potentially inadequate appearance. It's like trying to fit various kinds of wooden shapes into two differently sized holes without first whittling them down to the proper size. But with a little adjustment to the exposure and contrast, you can give it added depth that provides a more realistic dimension to the overall appearance. Some people use presets to accomplish this, whereas I prefer to hand edit each image so that not one piece of the photograph is overlooked and every fragment of light and shadow enhances the image's mood, composition and story. With that being said...
4. Pay Attention to Detail
Instead of editing an entire image all at once, begin by looking at it as many parts of a whole. In light of this, I prefer to work on one section at a time, just as if it were a puzzle or painting. Although it might appear as though the exposure of the photograph is relatively even, closer examination will reveal the tiniest bit of variance from one element to another. Amplifying that difference in tone is imperative to adding depth. That is why editing the exposure and contrast will differ depending on what part you're working on.
For those of you familiar with software such as Photoshop, Lightroom or GIMP, experiment with adjusting the levels in multiple layers and then masking out what you wish to leave unchanged. And for those of you just starting out that have no clue how to use Photoshop or Lightroom, and the only time you've ever heard the word gimp was summer camp 20 years ago and involved lacing vibrant plastic string together, don't fret. There's other, simpler ways to accomplish this that, although they may not perform as thorough a job, are more than adequate for the beginner. Picmonkey is one incredibly useful, straightforward editing software to try. They have all sorts of different black and white presets in their Effects tab that come with opacity sliders (adjusts the strength of the filter applied) and even eraser tools that let you "mask" out whatever you don't want changed. Use of their Royale feature is well worth the minimal $33/year upgrade until you have a better handle on more comprehensive photo editing software.
5. Contradict
The key to all types of photography, including monochrome, is to grab the viewer's attention, draw it in, and keep it. Sometimes that means breaking the rules. What rules? Oh, you know, the kind that say to always place the subject at a 1/3 vector in the frame. The kind that frown upon "close crops" and "limb chops". The kind that say blown highlights should only be for hair. Understand, I'm all for the rules. They're there for a reason, and a good one at that. We naturally dislike subjects with center placement, or missing appendages, or close enough to the edge of the frame to induce claustrophobia. And don't get me wrong; I get migraines, so you're preaching to the choir if you tell me that blown highlights can be simply painful to look at. First, however, you need to know the rules and have a good understanding of them. A fitting composition, with proper subject placement and suitable lighting is pivotal to a good photograph, a good film, a good painting. BUT. Once you've mastered the rules, know that sometimes it's OK to break them - especially when your preliminary objection is to garner a reaction. Here I'll go back to my reference that monochromatic imagery is all about feeling.
Case in point: Three of my most popular monochromatic images to date broke one or more of the rules of lighting and composition, one of them even shortlisted in the Open category of the 2015 Sony World Photography Awards. Why? Because they garnered a reaction and lasting impression on the viewer that was great enough to throw the rules to the wayside.
6. Observe
Two things: observe the work of others and observe the world around you. Study the imagery of great emotive monochromatic artists, like Ansel Adams, Irving Penn, Dorothea Lange, Sally Mann and Hengki Koentjoro, to name a few. Not as a means of comparison that will only give way to self doubt and feelings of inadequacy, but as an invaluable resource of examining their technique to find out what makes their images so emotively gripping and dramatically beautiful. With that being said, and reinforcing point #2, slow down. Observe the world around you in all its intrinsic beauty. Watch the shifting lights and shadows. Look for patterns, lines and shapes and see how they blend together to form a harmoniously alluring entity. Learn to see things from a new or different perspective. The more you study and visually refine your eyes to become more observant to everything around you, the more natural it will become to capture it effectively.
7. Practice
The old adage is tried and true: practice makes perfect. I'll still go through my old black and white photos, mumble to myself something along the line of "what was I thinking?", open it back up, re edit it, and the outcome is completely unlike the original. Something as simple as a good edit can make all the difference between an image thrown to the cutting room floor or hung on a wall. So keep on practicing. Learn how different channel conversions affect the appearance of the image. Play around with levels, curves and exposure adjustments to see how they affect the outcome of your photograph. Experiment with all kinds of light. Learn to "see" in black and white and identify various components such as lines, contours, textures and contrasts that would flatter this type of conversion. With a little determination and practice, your vision can become a reality and you'll begin to create spellbinding, inspiring and emotive monochromatic imagery.
For more amazing black and white photographs by Christine, visit her profile, website, Facebook and Instagram.


